Enable Payments
The integration of payment gateways like Stripe and PayPal in iMeetify enhances the platform's functionality by allowing users to monetize their services, events, or appointments seamlessly. Here's a brief overview of how this feature might work:
Step-by-Step Guide to Integrate Stripe with iMeetify
With iMeetify's Stripe integration, you can now securely accept payments for your appointments directly through your booking flow. Follow the steps below to connect your Stripe account and enable payment collection for your services.
1. Log in to Your iMeetify Account
- Visit https://www.imeetify.com.
- Enter your credentials to access your dashboard.
2. Navigate to Integrations
- From the left navigation panel, click on "Integrations."
- Select More from the dropdown menu.
3. Access Stripe Integration
- You’ll now see Stripe available in the integrations dashboard.
- Stripe allows you to accept payments for your appointments by linking your Stripe account with iMeetify.
4. Connect Your Stripe Account
- Toggle the switch ON next to Stripe.
- A Getting Started window will appear.
In the Getting Started window
- Enter your Stripe email address and password.
- Click the Submit button.
5. Verify Your Identity
- A 6-digit verification code will be sent to your registered mobile number with Stripe.
- Enter the code to proceed.
6. Finalize Connection
- Once your Stripe account is verified, you’ll see a summary screen with your account details.
- Click the Connect button to complete the integration.
✅ That’s it! Your Stripe account is now successfully integrated with iMeetify
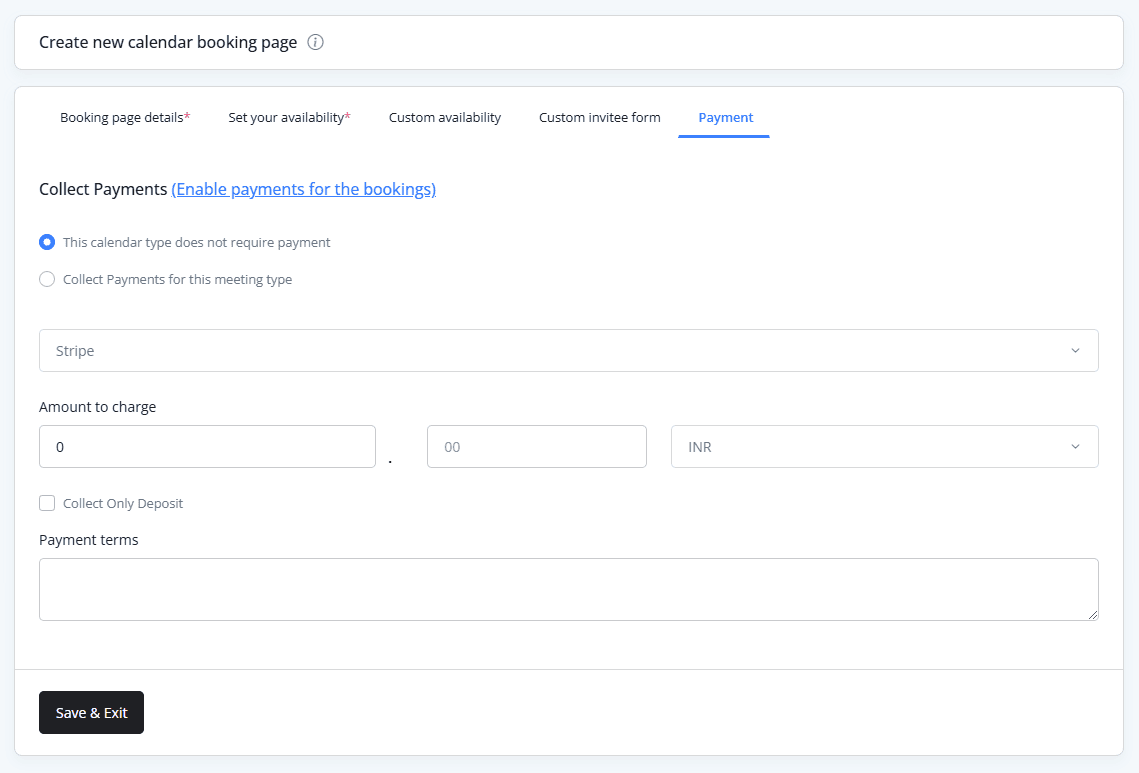
Next Step: Create Appointments with Payment Enabled
Now that Stripe is connected, you can start
- Creating appointments that require upfront or post-session payments.
- Offering paid services, packages, or consultations directly through your booking link.
- Automatically collecting secure payments during the booking process.
Note: Make sure to specify pricing when setting up a new service or appointment type to enable the payment workflow